This article is part of a related series of fuel/stove articles:
- Making your own Ion Stove
- Making a Pot Stand
- Reflectix Pot Cozy – coming
- Aluminum Flashing Wind/Heat Screen
- Fuel consumption for canister gas, alcohol, esbit, and white gas backpacking stoves
- Alcohol fuel efficiency for backpacking stoves – ethanol vs methanol

One of the keys to efficient boiling/cooking with alcohol stoves is the stove screen/heat shield. There are several components to constructing an efficient stove system, and the most important one is the wind/heat screen.
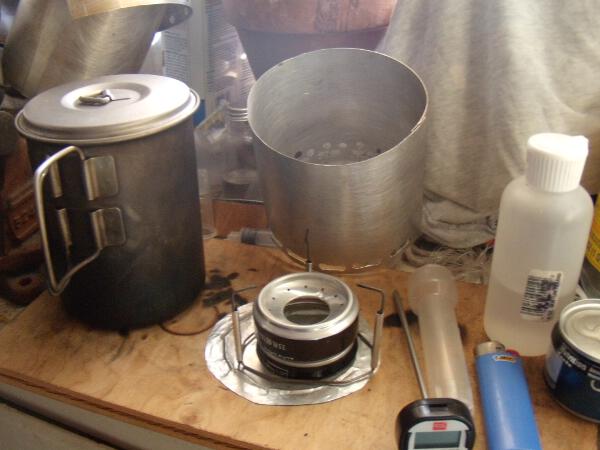
This screen will work well with Sgt. Rock’s Ion stove or Mark Jurey Penny Stove, or most other types, and should get you close to the maximum efficiency you can get with a flat rolled screen. For other options, see cone type screens and bent in screens (like FlatCat Gear uses). I wanted something a bit simpler than these types of screens however, one that rolls up neatly inside your pot, slots into itself with no weird or unwieldy connector methods.
I have to thank Sgt. Rock, who helped me figure out some of the intricacies of making an efficient stove. His Ion stove / screen / stand system still remains probably the most efficient and simple setup anyone has ever created.
This design is tested fairly extensively and is a little bit different, and more sturdy, than what Sgt Rock has on his site, but the core ideas are the same.
Core Concepts and Goals of Efficient Screens
The ideas behind efficient screens are not that complicated, but some are a bit counter-intuitive.
- Screen should be quite close fitting, about 1/4″ (6mm) from side of pot gap.
- Screen should not be too tall. For most pots, 4″ (10cm) is about right.
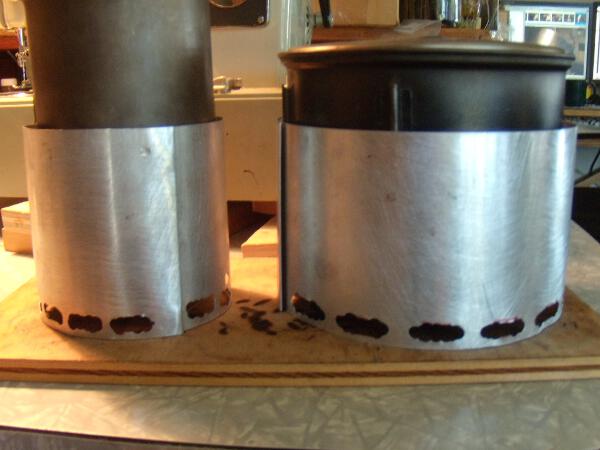
- Critical: enough air must enter into burning chamber to allow fuel to not overheat. This is where many screens fail, including most of my earlier attempts, but I did not realize this was the cause. I discovered this by long trial and error, primarily by lifting up fresh, non-holed screens with paper clip legs, then noting that gave me the best efficiency by far of all methods I had tried. Then it was simple math to calculate how many total square inches of air inlet that roughly 1/8″ to 3/16″ (3-4mm) created, then to duplicate that with air holes. The reason you see somewhat jagged airholes on the following completed pictures is that I do not have a punch that creates long air holes, so I formed them by punching out holes, cutting between them with small scissors, then punching a few more pieces off. This creates a few issues with wind, that are however easily resolved.
- The real key: the screen acts much more like a piston cylinder/carburator than a wind screen. The trick is to get the optimal air/fuel mixture, and to create the best burn chamber possible. This was the hardest point for me to understand, and it took a great deal of testing to confirm what sgt rock had told me via email about this question.
Furthermore, based on some touchy and slightly irksome designs I’d used before, I had the following practical goals for this screen design:
- Screen should be made out of aluminum flashing, which is easy to get, and very strong, and can be stored inside the pot easily by rolling it up. This material is springy enough to where it generally opens fine to its desired diameter.
- Screen should have a simple, essentially foolproof method of connecting the two ends. Since I’ve been sewing a lot, a bit of trial and error showed me that a basic flat felled type connection was perfect.
- Screen should not require awkward storage methods, like most cones do, and should above all be as simple as possible, yet yield the most efficient boils possible, on par with something like the Caldera Cone.
After a decent amount of testing, here is a how to on constructing this screen.
(more…)

