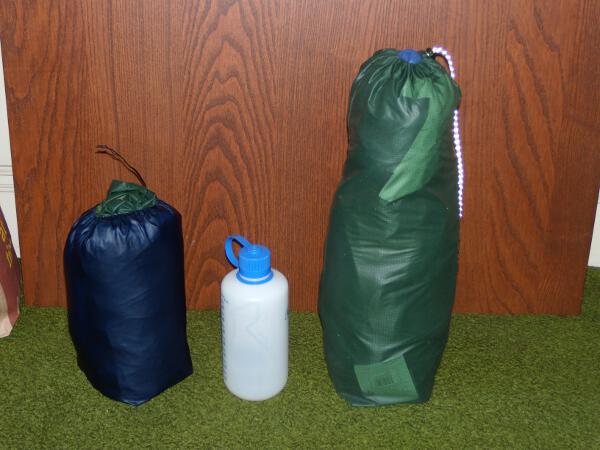
The following is a photo how-to on sewing a silnylon stuff sack. In this project, we’ll be making the blue stuff sack, which will replace the hugely oversized original green one.
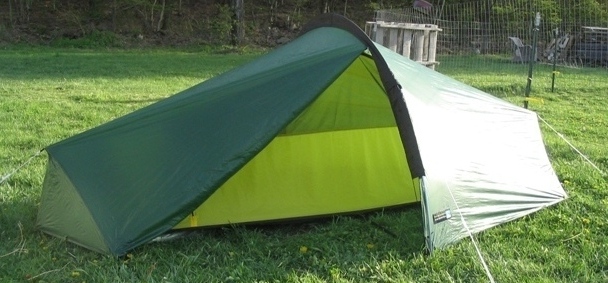
The dimensions here will be for the Terra Nova Laser Competition tent, but just change to suite your needs for any other stuff sack, there’s nothing specific at all about this to that tent except the dimensions.
Making a New Stuff Sack for your Laser Competition
So you’ve got your new Laser Competition tent. Now it’s time to change a few things. First, let’s get rid of that big stuff sack, which is much bigger and heavier than it needs to be (about 22 grams, compared to the 10 to 12 grams this stuff sack will weigh. Since Terra Nova supplies a tent pole bag and stake bag, I put the stake, or nail, bag, into the pole bag, then stick both into a side backpack pocket. Then we’ll create a small stuff sack that fits the tent, a light ground cover, plus the attached cuben fiber pole sleeve cover I showed you how to make, and which takes a lot less room in your pack, and weighs less as well. The final dimensions of this bag will be about 5.5″ X 10.5″. If you want it a bit roomier, just add one inch to the height of the bag.
Important: Remember to either remove or fold in half the two carbon fiber end poles when using a smaller stuff sack!! They are easy to reinsert, and if you just fold them in half, and leave them in, that’s even easier. But do it however you like, just don’t try to fold the tent up to stick in this stuff sack with them at standard length.
You can see the huge difference in size in the above picture, the new stuff sack is half the volume of the original Laser Competition stuff sack. That’s a 1 liter/quart Nalgene water bottle for size comparison.
I’ve also sewn pole and stake/peg/nail sacks, which weigh either less or the same as the Terra Nova supplied ones, except they have drawcords, like this bag. The only differences between those and this one, aside from the dimensions, are that they have a single side seam, and no squared off bottom, ie., they are a simple envelope shape, but the rest of the sewing process is exactly the same as given here.
Basics of Stuff Sack Construction
This style is the basic method, and doesn’t use a sewn in rounded bottom, so you have to add in the folds you’ll sew in on the bottom of the bag to square it off when figuring out your dimensions.
Remember: circumference is equal to diameter desired X 3.14 (pi), plus 1 1/8″ for the seam allowance.
Height is about the desired height of the final bag, plus 1/2 the diameter for the bottom, and about 1/2 the diameter for the top. Remember that the channel requires about 1.5″ inches extra material on the top.
Sewing is in several stages: 1. top right and left corner diagonals created to form channel reinforcement and entry points. 2. Channel itself is sewn, with tucked under 1/4″ to create a clean edge and avoid loose edges that can fray. 3. First seam, that creates the tube, done with bag turned inside out. 4. Second seam, which is pinned with bag turned back to normal, as a flat felled seam, then the bag is reversed, inside out again, so you can sew it from the inside. 5. Stitch along bottom edge. 6. Fold over this edge, and sew through it again to reinforce it. 7. Sew two corners, with bag inside out, to form a sort of square on the bottom when it’s full.
The last step is to thread cord into channel, and then add cord lock.
Materials
I use Gutterman thread, which is easy to find, but any quality polyester thread should be fine. But Gutterman is well regarded and reliable, the thin kind for this project, and most silnylon and light fabric projects.
When sewing silnylon, use the smallest needle you can manage, I used a #10 (70) needle. And sew slowly, otherwise the material tends to slip out of control, resulting in either really tiny stitches, or simply losing control of the seam altogether.
You should also have very sharp scissors. A good piece of advice I got was to use one pair only for fabric, not paper or other stuff, ie, have a dedicated, very sharp pair of scissors for your sewing. You can sharpen real steel scissors if you are careful using a honing rod if you have one, for knife sharpening, just make sure you are at the right angle to the actual cutting edge, which is quite steep, not like a knife.
Sewing the Stuff Sack
Ok, we’re ready to go now.
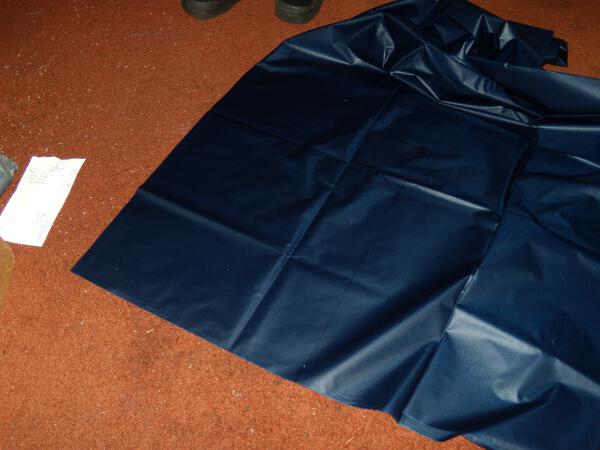
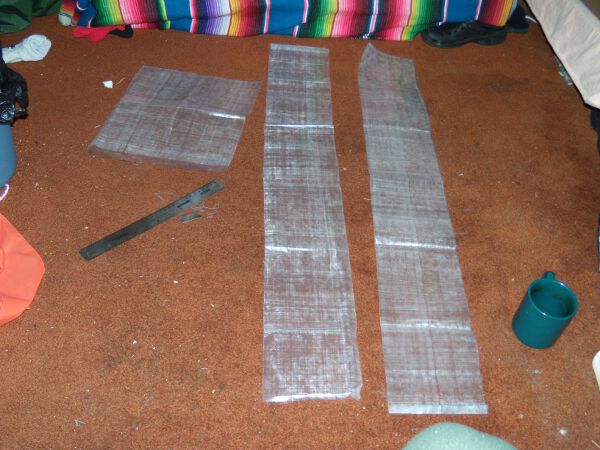
To get the right size, I’ll measure then cut a rectangle of silnylon, 14 1/2″ by 18 1/4″.
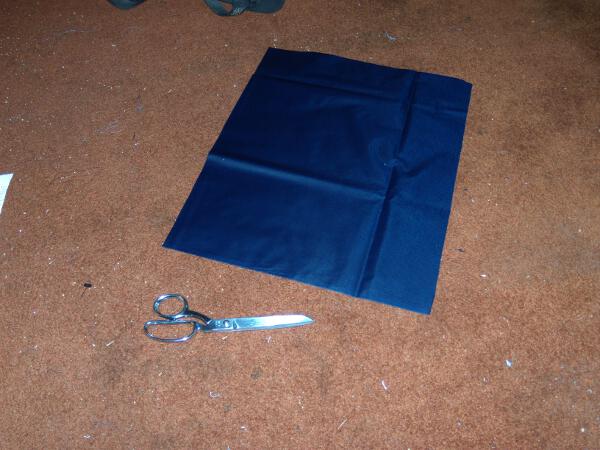
There is the rectangle, cut out and ready to be sewn.
(more…)
