How to Sew a Silnylon Stuff Sack for Terra Nova Laser Competition
Posted: February 4th, 2012 by: h2
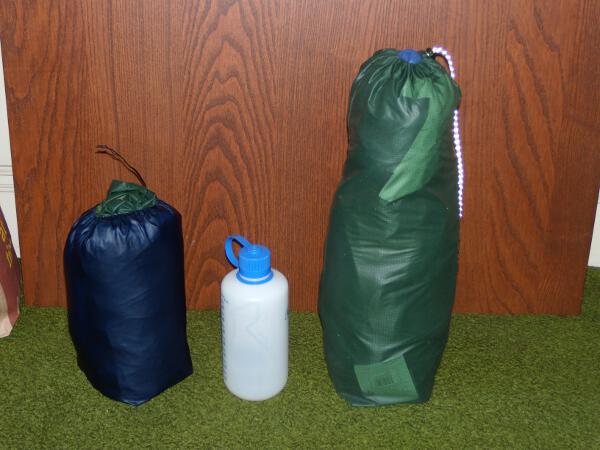
The following is a photo how-to on sewing a silnylon stuff sack. In this project, we’ll be making the blue stuff sack, which will replace the hugely oversized original green one.
The dimensions here will be for the Terra Nova Laser Competition tent, but just change to suite your needs for any other stuff sack, there’s nothing specific at all about this to that tent except the dimensions.
Making a New Stuff Sack for your Laser Competition
So you’ve got your new Laser Competition tent. Now it’s time to change a few things. First, let’s get rid of that big stuff sack, which is much bigger and heavier than it needs to be (about 22 grams, compared to the 10 to 12 grams this stuff sack will weigh. Since Terra Nova supplies a tent pole bag and stake bag, I put the stake, or nail, bag, into the pole bag, then stick both into a side backpack pocket. Then we’ll create a small stuff sack that fits the tent, a light ground cover, plus the attached cuben fiber pole sleeve cover I showed you how to make, and which takes a lot less room in your pack, and weighs less as well. The final dimensions of this bag will be about 5.5″ X 10.5″. If you want it a bit roomier, just add one inch to the height of the bag.
Important: Remember to either remove or fold in half the two carbon fiber end poles when using a smaller stuff sack!! They are easy to reinsert, and if you just fold them in half, and leave them in, that’s even easier. But do it however you like, just don’t try to fold the tent up to stick in this stuff sack with them at standard length.
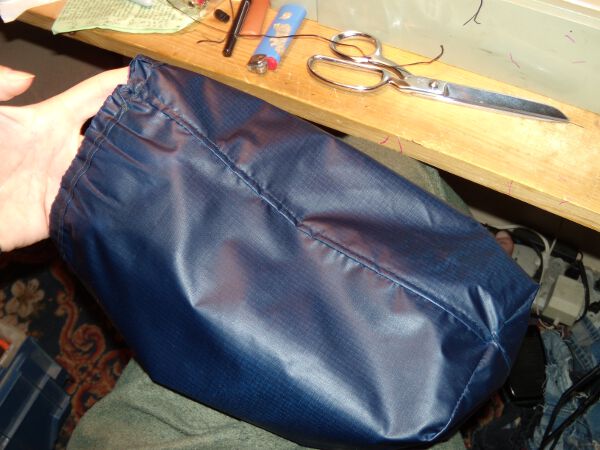
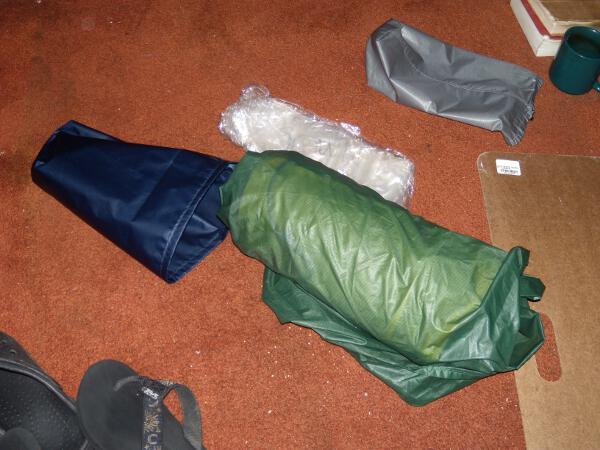
You can see the huge difference in size in the above picture, the new stuff sack is half the volume of the original Laser Competition stuff sack. That’s a 1 liter/quart Nalgene water bottle for size comparison.
I’ve also sewn pole and stake/peg/nail sacks, which weigh either less or the same as the Terra Nova supplied ones, except they have drawcords, like this bag. The only differences between those and this one, aside from the dimensions, are that they have a single side seam, and no squared off bottom, ie., they are a simple envelope shape, but the rest of the sewing process is exactly the same as given here.
Basics of Stuff Sack Construction
This style is the basic method, and doesn’t use a sewn in rounded bottom, so you have to add in the folds you’ll sew in on the bottom of the bag to square it off when figuring out your dimensions.
Remember: circumference is equal to diameter desired X 3.14 (pi), plus 1 1/8″ for the seam allowance.
Height is about the desired height of the final bag, plus 1/2 the diameter for the bottom, and about 1/2 the diameter for the top. Remember that the channel requires about 1.5″ inches extra material on the top.
Sewing is in several stages: 1. top right and left corner diagonals created to form channel reinforcement and entry points. 2. Channel itself is sewn, with tucked under 1/4″ to create a clean edge and avoid loose edges that can fray. 3. First seam, that creates the tube, done with bag turned inside out. 4. Second seam, which is pinned with bag turned back to normal, as a flat felled seam, then the bag is reversed, inside out again, so you can sew it from the inside. 5. Stitch along bottom edge. 6. Fold over this edge, and sew through it again to reinforce it. 7. Sew two corners, with bag inside out, to form a sort of square on the bottom when it’s full.
The last step is to thread cord into channel, and then add cord lock.
Materials
- Quest Outfitters – Silnylon Seconds 1.1 oz / yd silnylon. Note, that they don’t include the silicone weight, so the real weight is around 1.4 oz/yd. The quality of the silnylon doesn’t matter a lot here, and the cheaper stuff actually tends to be a bit lighter. Seconds are also fine for such projects, and they are cheaper.
For this project, we’ll use a piece 14.5″ X 18.25″
- ZPacks 80 pound polyester cord I like the 80 pound cord, it’s totally adequate for most stuff sacks, and is really light. By the way, get a lot of this, I always order too little, and am always running out, 5 or 10 yards should keep all your stuff sacks happy.
- Zpacks Tiny Cord Locks Same for the Tiny Cord Locks, they work great with these narrow cords, and don’t weigh anything. Tiny is a size, smaller than the Mini, which is way too big for very thin cord. Order a bunch of these, you’ll probably want to replace most of your drawcords with this and the 80 pound cord once you see how light it is.
I use Gutterman thread, which is easy to find, but any quality polyester thread should be fine. But Gutterman is well regarded and reliable, the thin kind for this project, and most silnylon and light fabric projects.
When sewing silnylon, use the smallest needle you can manage, I used a #10 (70) needle. And sew slowly, otherwise the material tends to slip out of control, resulting in either really tiny stitches, or simply losing control of the seam altogether.
You should also have very sharp scissors. A good piece of advice I got was to use one pair only for fabric, not paper or other stuff, ie, have a dedicated, very sharp pair of scissors for your sewing. You can sharpen real steel scissors if you are careful using a honing rod if you have one, for knife sharpening, just make sure you are at the right angle to the actual cutting edge, which is quite steep, not like a knife.
Sewing the Stuff Sack
Ok, we’re ready to go now.
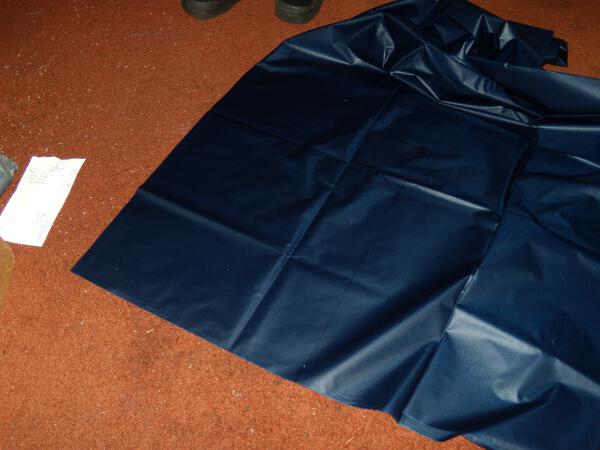
To get the right size, I’ll measure then cut a rectangle of silnylon, 14 1/2″ by 18 1/4″.
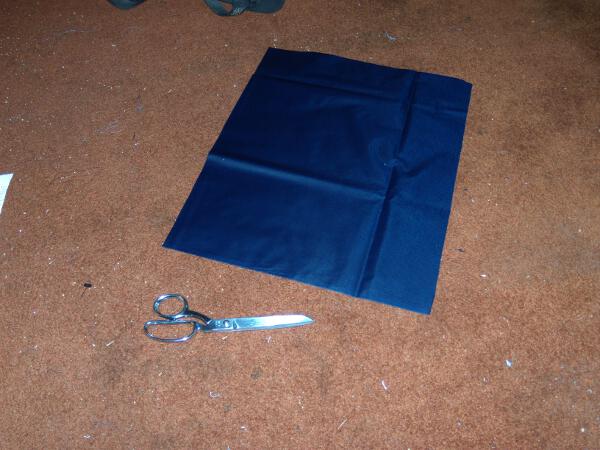
There is the rectangle, cut out and ready to be sewn.
To get nice entry points to the cord channel, and to reinforce the entry points, we’ll sew a triangle about 1 1/2″ high, from the corners. Just fold over and over the material until it hits 1.5″ down from the top, then sew the folded part, like this.
There’s the two corners sewn, now we’re ready to sew the cord channel.
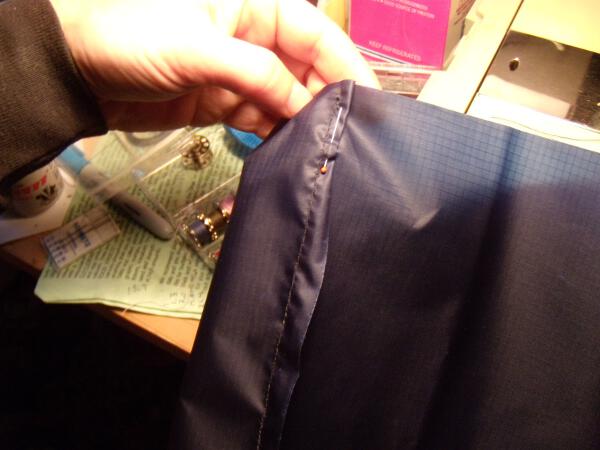
First, mark a few points 1.5″ down from the top edge. These will be the guides as we pin the top channel to get it ready to sew.
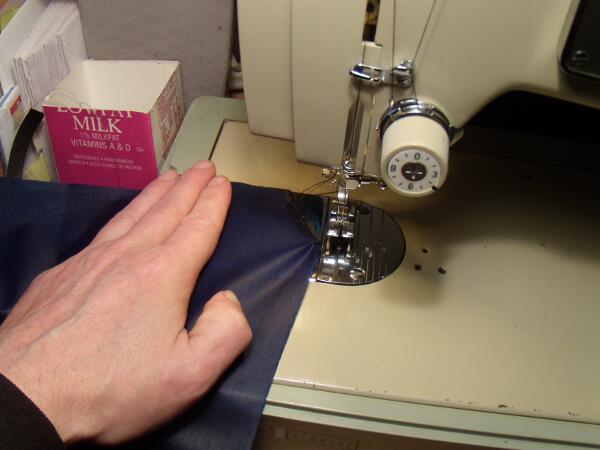
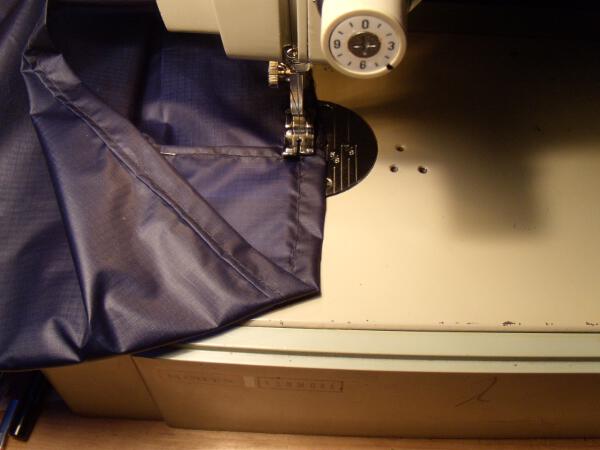
To sew this, we’ll add a few pins to the silnylon, which tends to be very slippery, to put it mildly. Fold under about 1/4″, to hide and protect the edge of the top of the rectangle, which will be the top drawcord channel, then fold over to reach the 1.5″ markings, and pin a few times along the top, 4 should be fine for this size. So the pins go through the top layer, then the 1/4″ folded under it, and then the main fabric under it.
Then start to sew. You’ll notice that the diagonals you made now meet, and form an entry to the cord channel. Start the stitching a little ahead of where the top material meets the bottom, that way you get the edge of that sewn nice and tight. Remember to reverse to lock the stitches, a few stitches is fine, then go back and sew it. Hint: remember, put the pins in with the head pointing AWAY from the direction you start the seam, that way you can pull them out easily as you sew.
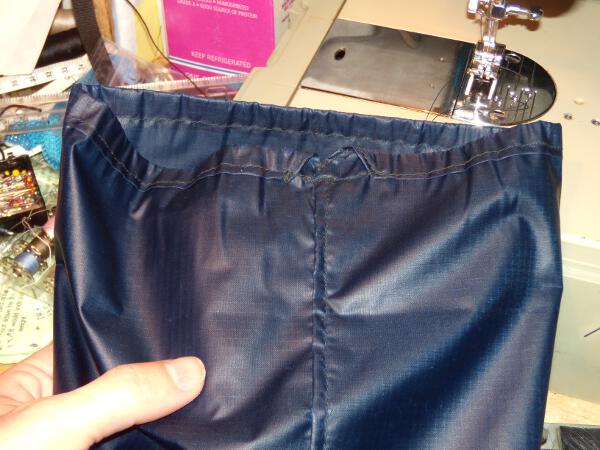
And there’s the top cord channel, all done.
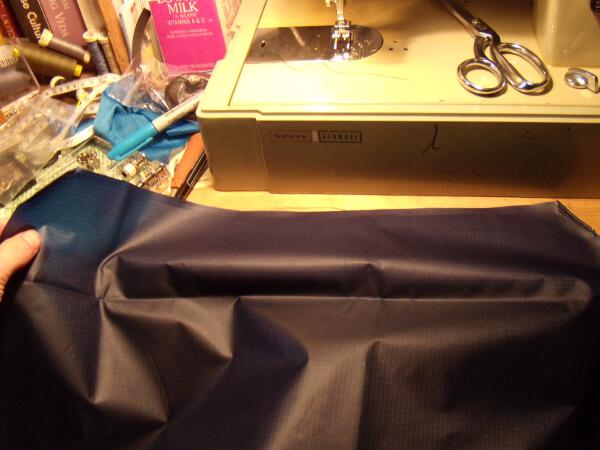
Now we’ll connect the sides, forming a tube. Use a few pins to hold the material, it’s slippery. Important: we want to do this so it’s inside out, with the channel on the inside of this tube. Pin the edges so that the bottom one is about 3/8″ inch past the top one, this will form the flat felled seam later. Sew about 3/8″ in from the edge of the top piece of material. Start sewing on the top channel edge, the seam should start basically where the seams that form the channel are, perpendicular to it.
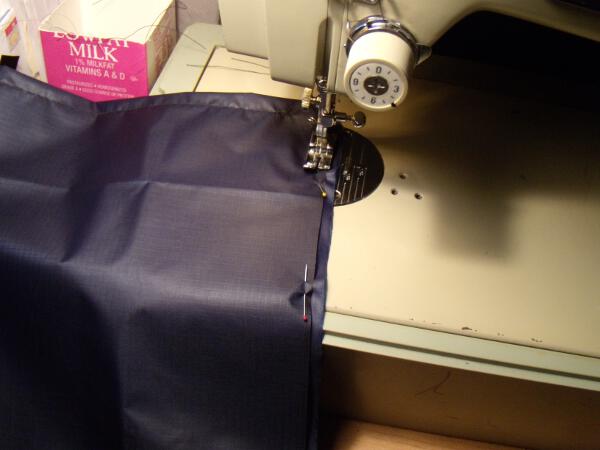
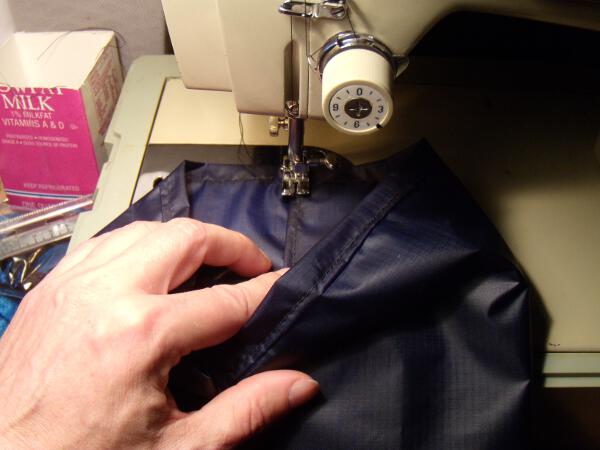
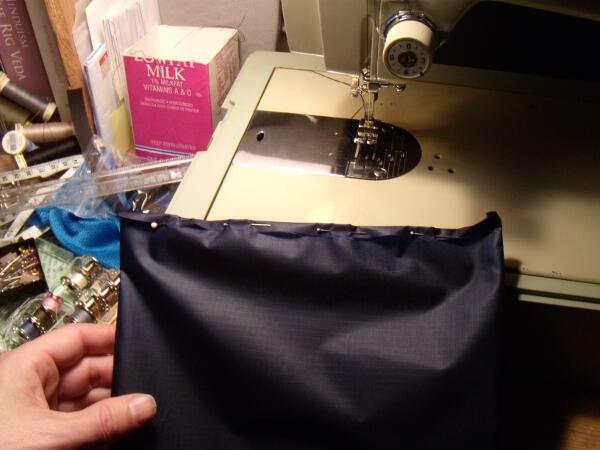
Now turn the bag tube right side out again, and fold the long edge over and around the short edge, then pin it. This will be sewn into a flat felled seam.
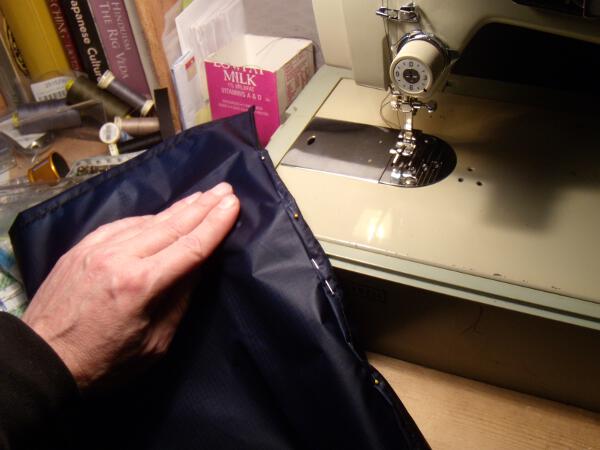
It’s all pinned, remember, start the seam along the same line as formed by the top cord channel seam.
Now turn the bag, with the pins inside, inside out again, we’ll start stitching at the top, and work our way down inside the bag. It’s very important at this point to avoid stitching the top of the bag or the sides under the seam, it’s easy to do that, so make sure to stop once in a while and pull the side or top fabric to make sure it’s not gathering under the seam.
I like to start the seam by going from one end of the channel seam to the other, and then to do a small bartack when I connect the two edges, to reinforce it. Then reverse until you get to where the edge of the flat felled seam you will be sewing is, and turn the bag so you can sew down into the tube.
See? Ready to turn it around after reversing.
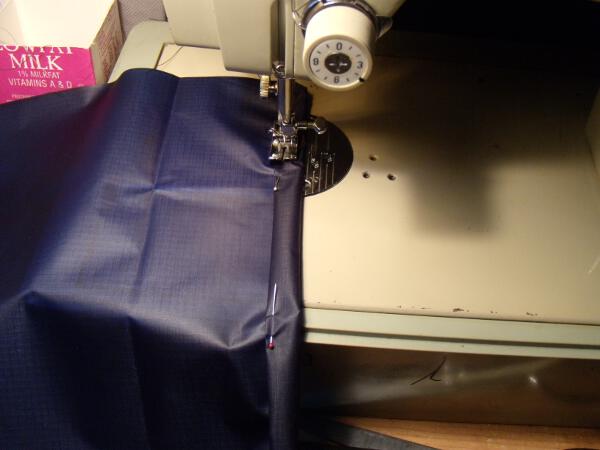
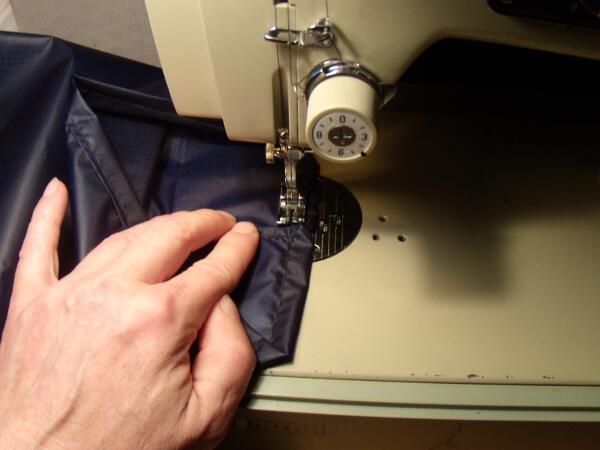
Now start sewing, as close to the folded over edge as you can manage. It helps to sew very slowly when you do this, it’s much easier to control the material. Remember, you’ll be sewing inside the tube here, so don’t sew the other parts by accident.
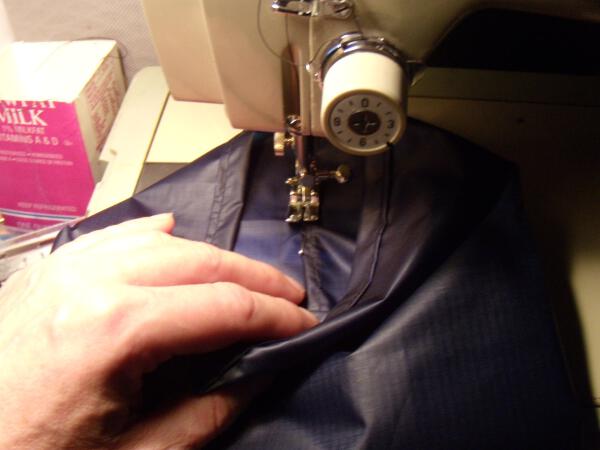
Hold the top to make sure you know where it is, then start sewing the second seam on the flat felled seam.
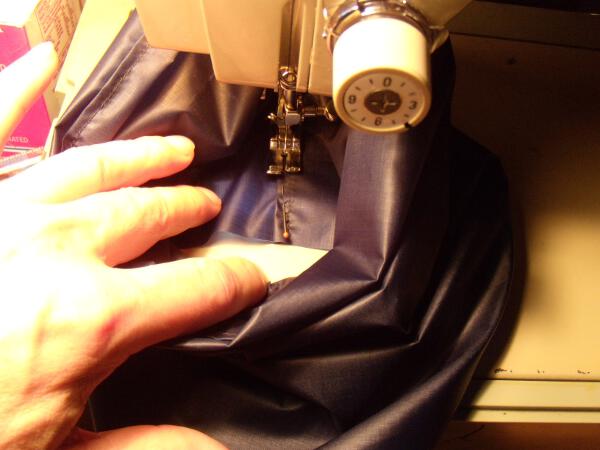
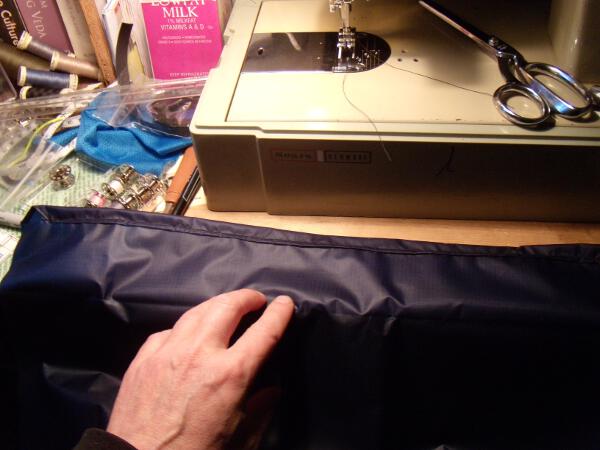
That’s the end of the seam, at the bottom, see how my hand is holding the top to keep it from getting accidentally sewn into the seam? Believe me, it’s easy to do that, I’ve done it several times. As always, remember to reverse the stitch a few stitches to lock it in, and pull the threads very tight to pull out any loose loops that might be present on the other side.
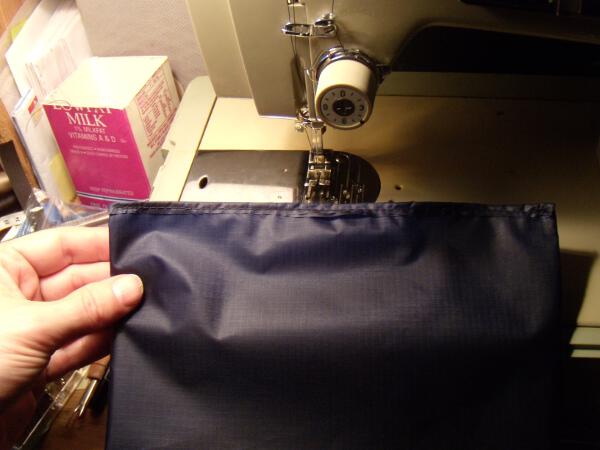
Turn the tunnel right-side out again. And there’s the top channel, and the flat felled seam. It’s a bit hard to see it because of the materials I used, blue silnylon and black thread.
Now run one stitch to close the bottom, then after you’re done, fold over the bottom edge, pin it, and sew over that 4 layer fold, to reinforce it.
And there’s the bottom edge completed.
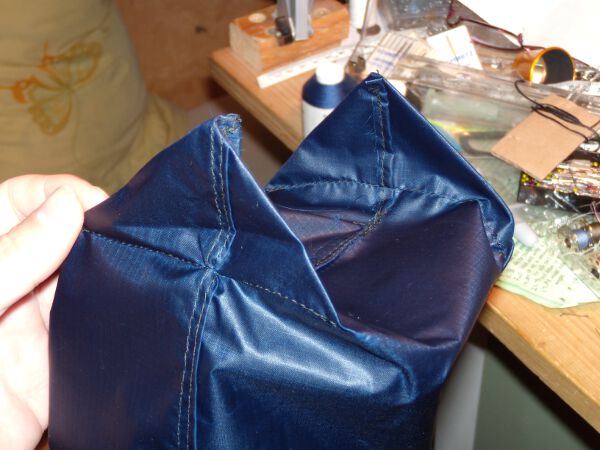
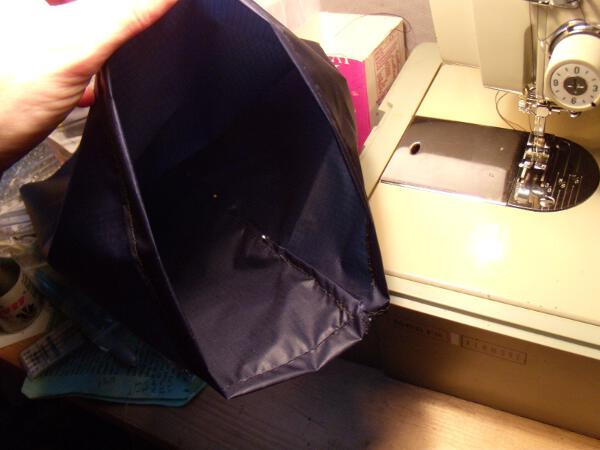
Now, after checking all the seams, turn the bag inside out again, and we’ll make the bottom corners, which will give the bag a sort of roundish form, instead of it just looking like a flat envelope.
We’ll accomplish this by sewing in the corners, making sure to start on the side that has the seam, and lining up the side seam and the bottom seam exactly. If you get it right (ie, the side and bottom seam line up exactly), it looks nice, if you don’t, it doesn’t really matter but doesn’t look as nice. The triangle you’ll sew should be a bit less than 1/2 the diameter of the bag when done. Just sew straight across what would be the base of that triangle.
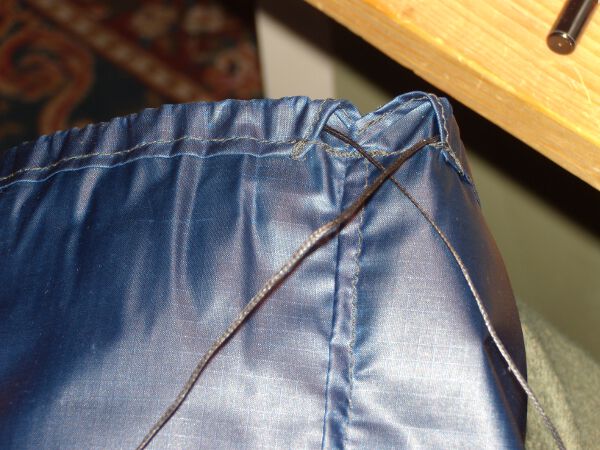
Now we’re done, turn the bag back right side out, and we’ll thread the cord into the cord channel. Here you see the side flat felled seam, and the bottom square you sewed in, forming a sort of pseudo-bottom to the stuff sack.

And here’s a closeup of the cord channel, with its diagonally sewn channel entrances.
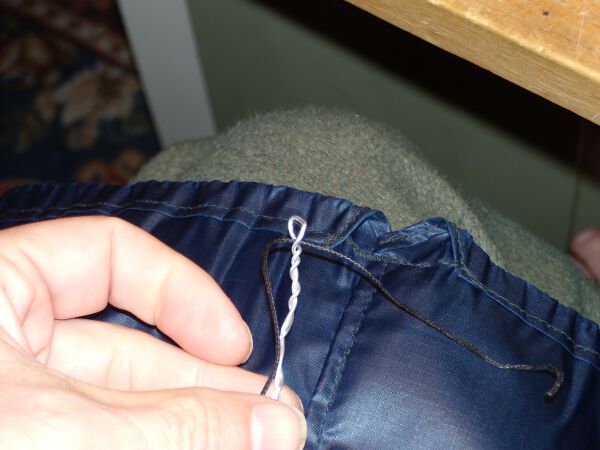
I like to use a small bit of aluminum (any wire will do that’s stiff) wire twisted to have a small loop in the top, sort of like a big needle.
This end goes in first, and you stick the cord through it a few inches, it tends to hold fine while threading it through the channel.
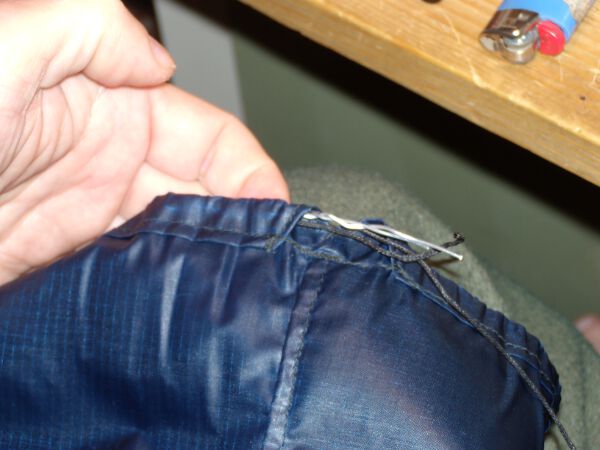
Stick the looped end into one channel hole, then, holding the top of the wire loop, push the fabric along the bottom.
That’s about half way, see how I bunch the fabric up to the end of the wire loop, which I’m holding fast with my hands? Then you just pull the cord forward while pushing that bunched up fabric back. It’s easy once you do it.
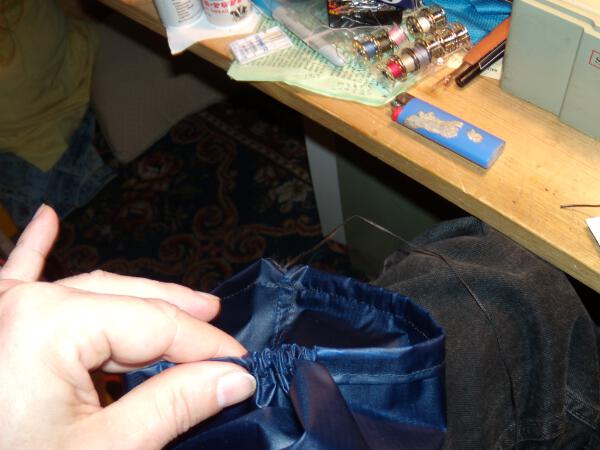
And there we’re through, ready to add the cord lock.
There’s a somewhat loose Terra Nova Laser Competition tent, with a Gossamer Gear polypro ground cover, those will fit fine into this sized stuff sack.
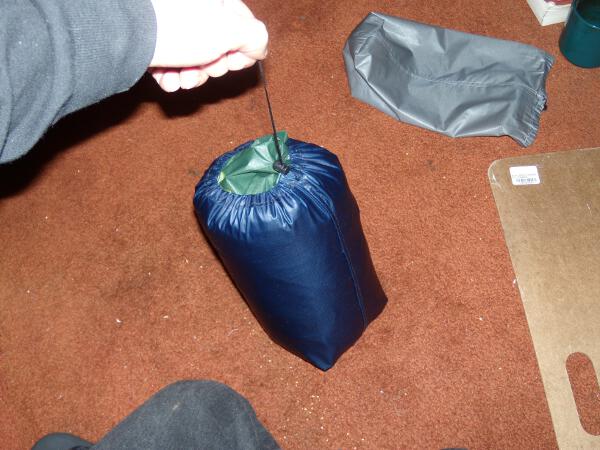
See? All done, works. The gray stuff sack, which is a little bit too small for the tent with its new pole sleeve attached, weighs only 8.5 grams, mainly because it uses a lighter silnylon).
Weight of this one, because I was using a slightly heavier grade of silnylon I got from DIY Gear Supply, is 12.1 grams, but if you use standard silnylon, it should weigh around 10 grams, give or take a bit.